Our step-by-step learning guide
To learn to ride a bike, a child must be able to progress at their own pace. With this guide, all you need is a BEMOOV to teach your children to ride a bike.
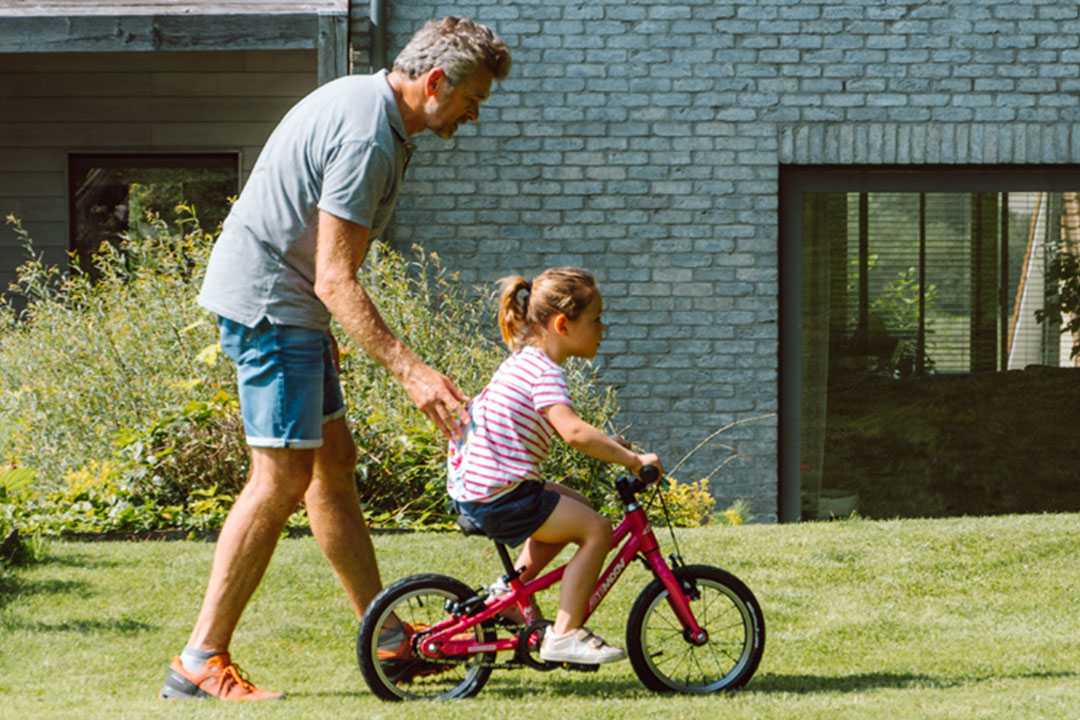
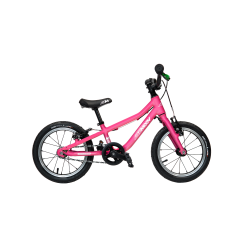
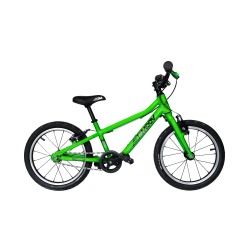
To learn while having fun, it is important that your child has a bike adapted to his morphology. Above all else, we can't recommend enough that you offer your child a bike in their size, adapted to their morphology, as well as their level of agility.
Then, to help him the best, you have to trust your child and his skills, which are just waiting to develop. As with all learning, it is therefore preferable to separate the stages. The method that we propose allows the child to never be left to himself, while keeping a playful side and in complete safety.
Remember that the motivation to learn comes from them!
Learning to balance on a bike: it's super fun!
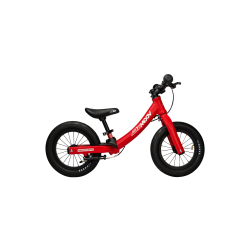
Step 1: At BEMOOV, we recommend that young children begin their learning with a bike without pedals (balance bike, also called balance bike). This will allow the child to develop his sense of balance, and to discover the pleasure of riding on 2 wheels before learning to pedal.
Sit your child on the saddle adjusted to an intermediate height, so that his knees are moderately bent, with his feet on the ground. Let him push one foot then the other to move forward, until he feels comfortable.
You can now raise the saddle so that your child only has their knees slightly bent with their feet on the ground. Your child will push harder and harder with his feet and pick up speed.
Learning to pedal on your bike: child's play!
Step 2: If his balance control is not yet perfect, you can remove the pedals from the new bike for a few days, in order to simply use it as a balance bike.
You can also pick a gentle incline to hold it for a bit, and then let go when it starts to pedal. You can also push the bike slightly from the back of the saddle if you are on the flat.
Stay very close to your child to catch him if he loses his balance. You can give him more autonomy as he progresses. Your presence as a parent will be essential to assist your child and support him or her, so that he or she feels safe and confident.
Learn how to start a bike: suuuuper fast
Step 3: Teach him to place one foot on a pedal positioned slightly above the crank axle forward, and the other firmly on the ground. It is important to push with the foot that is on the ground, as hard as with the one on the pedal.
After a few tries, he will only have to learn to start and put the 2nd foot on the pedal without inadvertent movement of the handlebars, child's play if your child has learned how to balance beforehand.
Learn to brake on a bike: stop safely
Step 4: The thing to remember when teaching your child how to brake effectively is that the front brake is more powerful than the rear brake. It must therefore be used in good proportion, to avoid the risk of falling. With this method, your little rider will easily get used to using the 2 brake levers when switching to the pedal bike.
What your child must remember is that if you only use the rear brake, you skid, and with the front brake, you tip over. To stop safely, you must use both, but not necessarily at the same time.
Learn to control your turns on a bike: guaranteed sensations!
Step 5: First thing to explain to your child: the bike goes where you look!
This is very important to teach your child not to turn their handlebars too much. Your child must have understood that turning a bike (at a certain speed) IS NOT DONE by turning the handlebars, but by leaning slightly towards where you want to go (left or right).
To facilitate the agility of your child on his bike for your child, nothing better than a good position on a bike adapted to his morphology, easy to ride, therefore.
Learn to use the gears of the bike: like a pro!
Step 6: The trick is to anticipate your gear change and do it gradually: "speed by speed". The goal is to avoid breaking your pedaling rhythm and to anticipate changes in relief or obstacles to come.
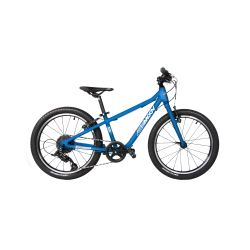
The biggest challenge for kids (and for many adults, even) is knowing which trigger to press to upshift or downshift on a bike. On a BEMOOV, learning to shift gears is much easier because we have colored our triggers, red and green, to differentiate them.
From then on, your child will be able to remember: that red = + quickly, + effort, while green = - quickly, - effort. It's quite simple!
Learn to ride a bike safely: don't even be afraid!
Step 7 (or 0): First of all, it is essential for your child's safety to have a well-maintained bike: cleaned, lubricated, adjusted, checked...
Having a size-appropriate bike is great, but it's also necessary to adjust the settings as your child grows. Before each bike ride, we advise you to check:
- if the brakes are properly adjusted
- if the saddle is well fixed and at the right height
- if the chain is well lubricated and nothing is blocking
- whether the wheels spin freely and the tires are properly inflated
Without forgetting of course: to put on the helmet and close it properly!

